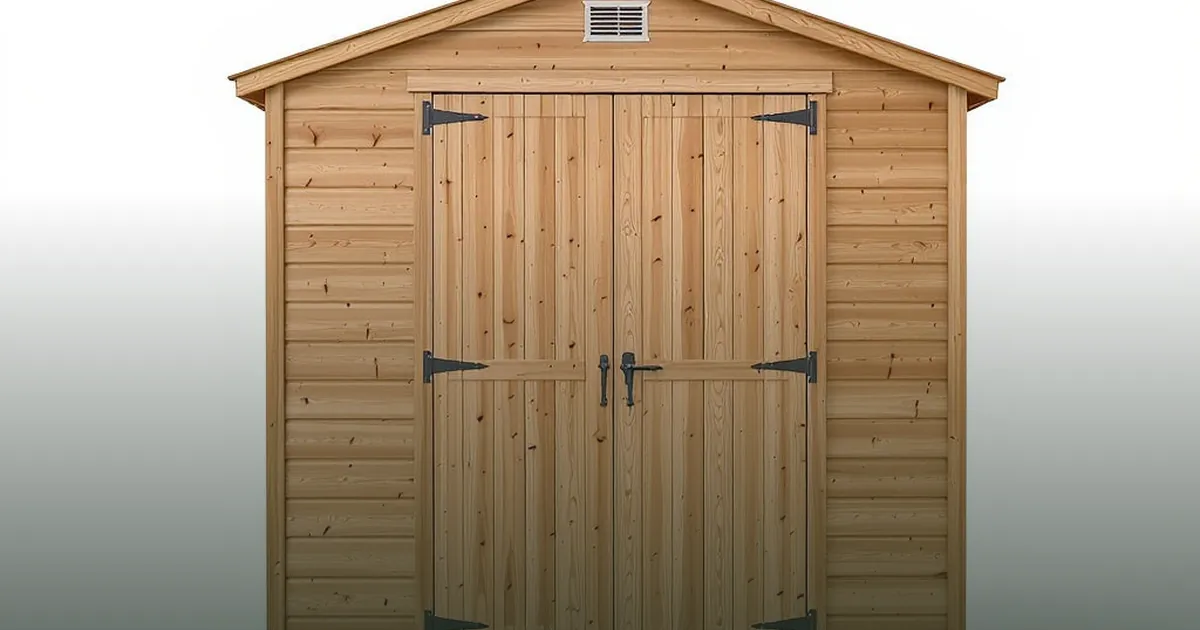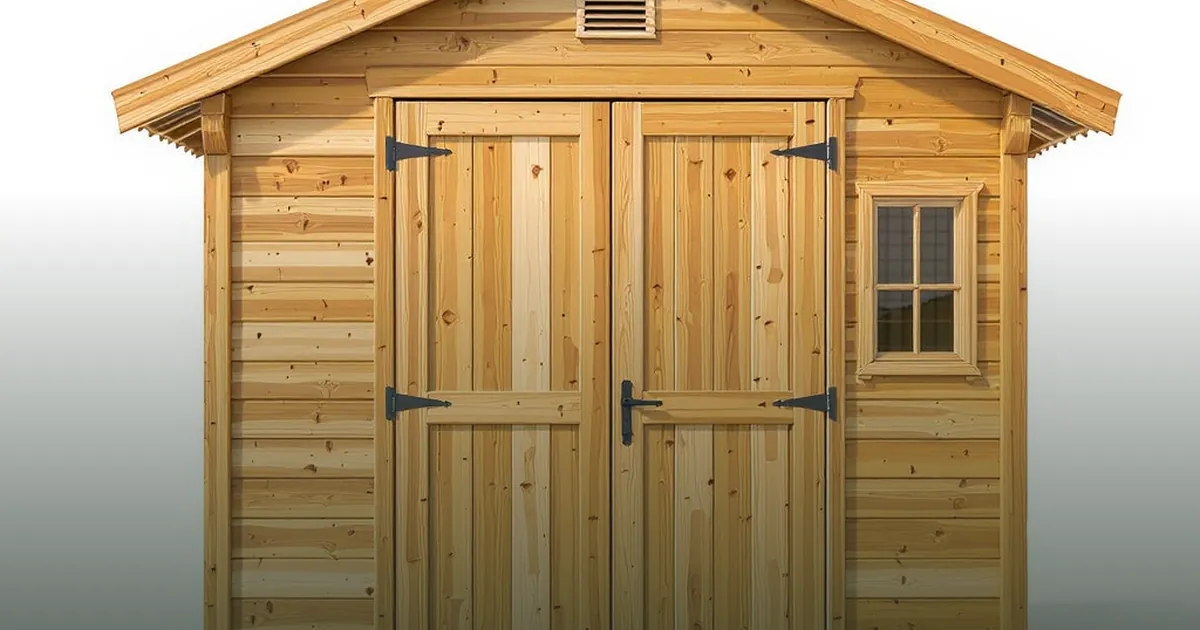
The shed gets the credit; the foundation does the work. Ninety percent of "my shed door stopped closing" and "my floor is rotting" complaints trace back to what the shed sits on — not the shed. The good news: a proper foundation is a weekend project, and the right choice depends on the shed's size and your ground. Here are the three that work, and when to use each.
For most sheds up to 10x12, a 4-inch crushed-gravel pad in a timber or plastic frame is the best foundation per dollar. Drainage is built in — water passes through instead of pooling under the floor — and the pad self-levels minor ground movement. The recipe: strip sod 12 inches larger than the shed's footprint on every side, lay landscape fabric, frame it with 4x4s or 6x6s, fill with 4 inches of compacted ¾-inch crushed stone (not pea gravel — it rolls). A 10x10 cedar shed needs a 11x11 pad; buy stone by the cubic yard, not the bag, for anything this size.
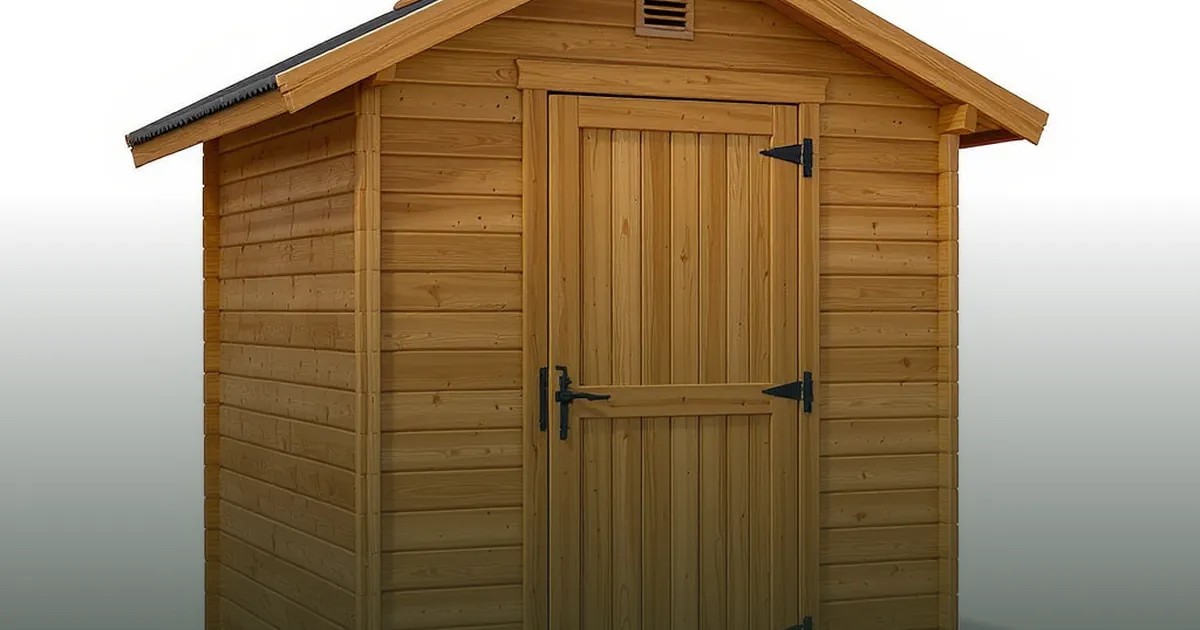
Small, light sheds — the 7x4 lean-to class, bike sheds, tool lockers — can sit on concrete pier blocks set on undisturbed ground or shallow footings. Set one block per corner plus one every 3 ft along long walls, level each with the gravel or plastic shims, and lay 3-ply or 2x6 pressure-treated runners between blocks and floor. It is the only foundation a renter can remove, and it keeps wood floors a full air-gap off the soil — the cheapest rot insurance there is.
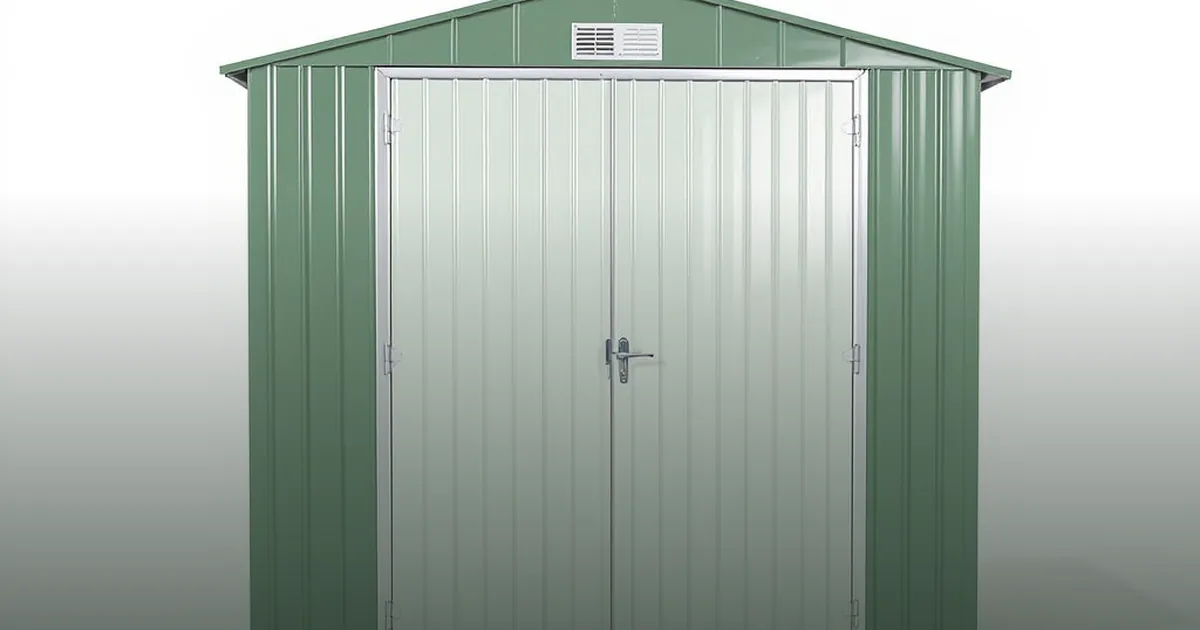
A 4-inch slab is the premium option and the right one under three conditions: the shed is 12 ft class or larger, the floor will see vehicles or heavy machines, or you are in frost country and want zero frost-heave drama. A slab under a 12x10 steel workshop shed gives you a floor you can roll a engine stand across and anchor bolts you can tie walls to. The costs are real — concrete, forms, a permit in many towns, and a cure time of a week — and so is the rule: the slab must sit 1–2 inches above grade and slope a hair away from the door, or it becomes a birdbath.
Level beats flat. A pad that is flat but tilted puts doors under gravity's management; check level in both directions with a 4-ft spirit level before the shed arrives. Drainage beats concrete. Water must leave the site — grade the surrounding soil so the first inch of rain flows away from the pad, not onto it. Anchoring is not optional. Every shed, every material: strap wood sheds to their runners, screw steel sheds through their floor rails, and anchor resin sheds with the kit provided — an unanchored shed is a kite waiting for the right storm. Our large-shed range ships with anchor points sized for each model.
Whatever foundation you choose, the site prep is the same five steps. 1. Mark and measure: stakes and string, footprint plus 12 inches each side; check diagonal-to-diagonal for square. 2. Call before you dig: utility location is free and takes three days — schedule it first. 3. Strip and level: remove sod and topsoil from the pad area; level across both directions, not by eye. 4. Fabric and fill: landscape fabric, then 4 inches of crushed stone, compacted in two lifts with a rented plate compactor ($40 a day) or a hand tamper for small pads. 5. Check drainage: hose the pad — water should leave within minutes, not pool. A pad that passes the hose test will pass the winter.
Manufacturers rate sheds for wind only when anchored, and the anchors differ by foundation. On gravel or soil: auger-style ground anchors with straps over the roof frame. On a slab: sleeve anchors through the floor rails (steel sheds) or the skids (wood). On pier blocks: hurricane ties between runner and block. The hardware is $20–$50 and one drill afternoon — the cheapest insurance the shed will ever get. Our steel sheds ship with pre-drilled anchor points; the wood range anchors through its floor runners.
Gravel for most sheds, piers for small ones, slab for workshops and frost country — and a weekend of site prep before the truck arrives. Pick your building from the wood or metal ranges, size the pad to its footprint plus a foot, and the foundation will outlast the warranty.